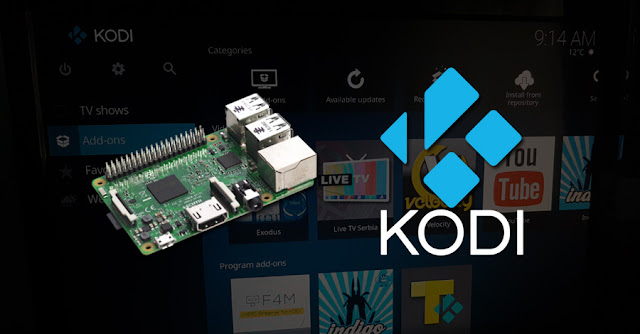
Yesterday, I wrote a detailed article about Android TV Box devices up to 30 euros and it is intended for those who do not understand much about technology. This article is intended for those who do not want to buy this Box because they already have a Raspberry Pi (which normally costs around 30 euros) and would like to use it to watch IPTV channels, movie series, listen to music, watch pictures, and the like.
Note: I will use the LibreElec system for RPi and it contains only Kodi, while Android Box has many other applications, including Kodi. This is an advantage of the Android TV Box, and the advantage, if you have an RPi, is that you can use it for anything else, just insert another system.
System installation
As I mentioned, I use LibreElec. There is also OpenElec but support for it is weaker and everyone has switched to Libre. OSMC is another variant and is a little better in terms of applications because you can, in addition to Kodi add-ons, also install Linux applications. But Libre is simple and works well on older (weaker) RPi as well.
1. Download the tool
LibreElec has its own tool for downloading and recording systems to a memory card. You can download the program from their website for Windows, Mac, and Linux systems.
https://libreelec.tv/downloads/
2. Download the system
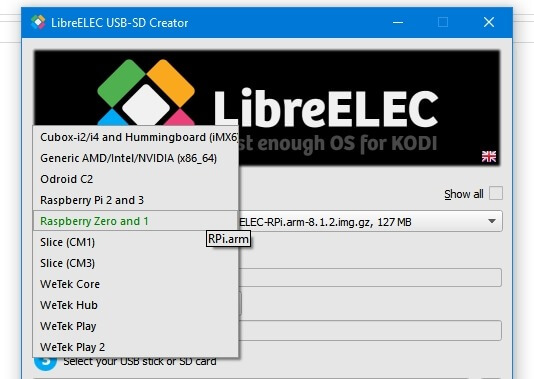
Open the program and select the device you own. The RPi board says which model it is, and also the box. Select that model from the drop-down menu and download the system by clicking "Download". Wait for the .gz archive to download and don't unpack it!
3. Record the system
Now insert a memory card suitable for the device on which you want to install the system into the card reader. RPI B + and newer versions use a microSD card. Refresh the device list (1) in the tool and select tab (2).
In the "2" section of the tool, click on "Select File" (3) and select from the computer the archive with the downloaded system (4).
Click on "Write" (5) after which the tool will delete everything from the card, divide the partitions, and save the system.
4. Run
Now all you have to do is insert the card into the RPi and run it. You need a screen, an internet connection (LAN or better yet USB WiFi), and some control device (keyboard and/or mouse). Connect it all to the RPi and plug it in. The screen is best connected with an HDMI cable, but RPi B + and newer models have a 3.5mm A / V output, so you can also connect via 3 cinches, or SCART if you have an adapter. However, you need to "guess" the 3.5mm -> 3 cinch cable because it can't be any (I made a mistake so I had to solder all the wires), so HDMI is simpler.
IPTV plug-in installation
If you want to watch domestic EX-YU channels and a few more foreign ones, I recommend Serbia IPTV Kodi Addon because it has the largest database of channels and is most often updated almost every day. Detailed instructions with pictures and video can be found in this article:
Installing the Exodus add-on
If you want to watch all possible movies and series online, I recommend the Exodus add-on for Kodi. I also wrote detailed instructions about it, so read here:


Comments
Post a Comment